Assignment 6#
The goal of the lab this week is to:
Form teams and designate a team leader
Create a new GitHub repository for your final project
Choose a GitHub workflow that works for all team members
Install necessary Python packages to carry out project
Important
There is no submission for this lab.
Team leader: make a new Github repository#
If you’re working in a group, pick a project lead to initiate and manage the GitHub repository (or repo).
Click the big green New button and follow instructions on the left side of page. Come up with a clever, descriptive repo name - try to avoid names like “finalproject”, which won’t make the project very memorable or searchable.
Set the access to Public (so instructors/other students can follow progress).
Select to include a
README.mdand include a.gitignorefile with aPythontemplate.
Don’t stress too much about the specifics of the repo - these are not permanent, and you can always change repo names, or start over entirely (just copy and add existing files as a first commit). One of the goals here is to gain more experience using git for collaborative work and, early on, you’re inevitably going to make some mistakes.
Team leader: add other team members to repository#
The team leader now needs to add the others as collaborators and make sure they have permission to access and commit.
Click Settings –> Collaborators from menu on the left
Click the big green Add people button and add the other team members using their GitHub usernames
Everyone: clone repository#
All team members should install GitHub Desktop.
Once installed, open GitHub Desktop, click File –> Clone repository…, enter https://github.com/<team-leader-username>/<project-repo-name> as the URL where <team-leader-username> is the team leader’s GitHub username and <project-repo-name> is the name of the new project repo.
Choose a Local path where you keep your coursework (e.g. C:\Users\your_name\Documents) and click Clone.
Notice that in the top left that Current repository is now set to project-repo-name.
(Option 1) Centralized git workflow#
To contribute to the repo, team members should make a new file called
README_XX.mdwhereXXare the initials of the team member.When the team member is finished with thir edits to
README_XX.md, they can go to GitHub Desktop, include a Summary of the changes, Commit to main and then click Push origin button.Team leader can then go to GitHub Desktop, click Fetch origin and Pull origin to retrieve the changes that the team members made to their local environment.
Team leader can then add useful text from
README_XX.mdto the main file (e.g.README.md). Once they are finished they can deleteREADME_XX.md, go to GitHub Desktop, include a Summary of the changes, click Commit to main and then Push origin button.Team members can then go to GitHub Desktop, click Fetch origin and Pull origin to retrieve the changes that the team leader made. Repeat the steps above to contribute to the project.
Some tips for the centralized workflow#
Only the team leader should edit the main files (e.g.
README.md)Team members should edit their own versions (e.g.
README_XX.md)Fetch and pull regularly to avoid conflicts
(Option 2) Feature branch workflow (recommended)#
To fully explore the power of GitHub, we recommend that using a feature branching workflow. The learning curve is a little steeper than the centralized workflow but will provide a more complete introduction to git and GitHub.
Workflow#
In GitHub Desktop, all team members should create a their own branch by clicking the drop-down menu called Current branch, typing a name for their branch (e.g.
xx_branch), click the big blue Create new branch button and Create branchAll team members should publish
xx_branchto main repo by clicking the big blue Publish branch buttonAll team members can make changes to
README.md. Once they are finished, go back to GitHub Desktop, include a Summary of the changes, click Commit toxx_branchand then Push origin button.In GitHub Desktop, click the big blue Create Pull Request button which should take you to GitHub.com where you can click Create pull request.
The team leader can then go to
https://github.com/<team-leader-username>/<project-repo-name>, click Pull requests from the top menu, click on the open pull request. If there are no conflicts, the team leader can click Merge pull request and Confirm merge.The
README.mdshould now be updated on themainbranch.Once your changes have been incorpotated in the
mainbranch it is good practice to clean up your repository by deleting the old branch (e.g.xx_branch).Before starting new work, all team members should first click the Fetch origin button to check for new changes.
Repeat the steps above to contribute to the project.
Feature branch workflow in command line#
It seems like most people in the class are using GitHub Desktop. But if your team would like to use the command line (i.e. Terminal), the steps are basically the same. There are some useful instructions here and here. The instructor and TA would also be happy to help get a workflow started.
Some tips for collaborating on group project#
The best practice for collaborating on GitHub is to avoid situations where two people are independently working on the same script. When trying to push/pull changes to/from same origin branch, there will inevitably be merge conflicts that can be messy to untangle.
Collaboration is also a little more complicated with Jupyter Notebooks since running cells in the notebook will change execution count and output, even if the code and content appear identical. You are welcome to use other programs to write scripts (e.g. Jupyter Lab or Spyder).
General recommendation - split up the project into multiple smaller scipts, and have each person work on different components. For example, you could have one script that ingests files, reduces/manipulates the data (e.g., reprojection), then writes new files out to disk in “analysis-ready” format. Then a second notebook reads in those data and does some analysis, creates some plots, etc. If you can pass things back and forth between group members like this, you’ll avoid conflicts.
Create subdirectories in your repo to store:
notebooks - contains scripts to complete project
data - contains small amount of data such as output of analyses. Just make sure filesizes are <20 MB and total number of files (<20 MB) is limited. Best practice is to store and share data on Dropbox.
doc - for any additional documentation, static images/figures that you want to include in notebooks or markdown files, etc.
Start adding and developing notebooks, code, markdown files, etc.
Start with limited test case(s) for initial development and exploration:
Extract a small region of a large raster
If you need the entire raster, start with a downsampled version, then when you’re happy with methods, run for native resolution
Start with a single timestep or subset of timesteps for time series analysis
Don’t add unnecessary files to your repo (careful with
git add/commit)Commit early, commit often
Everyone: install a Python distribution#
There are many ways to do this, but our current preferred option is described below. One advantage of the workflow described next is that it is cross-platform meaning that it should work on Windows, MacOS, and Linux operating systems. Some of the text here overlaps with the intro to Python packaging page.
As a reminder, a distribution is a collection of files that together allows us to build, package, and distribute a module. Since many software programs are written in Python, all computers have an internal Python distribution by default but it is usually an older version of Python (e.g. Python 2.7).
Given that we require specific packages for geospatial data science, it is good practice to install a more modern Python distribution (e.g. Python 3.10.8) using Miniconda.
Most students downloaded Python in Week 1 so can skip this setep. But, as a reminder, the latest version of Miniconda can be installed from the dowload page.
We can check that Python is installed by opening an Anaconda Prompt (miniconda3) (Windows) and entering:
where python
Or, on MacOS, open a Terminal and enter:
which python
We should see somthing like:
C:\Users\johnny\miniconda3\python.exe
Or:
/opt/miniconda3/bin/python
Setup a virtual environment#
It is good practice to create a new virtual environment for each new programming project (e.g. the final project for this class). A virtual environment allows us to install Python packages for one project without worrying about conflicts with packages of other projects. Python has built-in support for virtual environments using the venv module. A new environment can be created using the following command in an Anaconda Prompt (miniconda3) (Windows) or Terminal (macOS):
python -m venv .venv
Note
The dot in .venv means that it is a hidden file. .venv or venv are standard names for virtual environments.
Next we need to activate the virtual environment. In Windows this can be achieved by running:
.venv\Scripts\activate
On macOS, run:
source .venv/bin/activate
Install dependencies#
We can install individual Python packages using pip. The syntax is pip install xxx where xxx is the package we want to install. It’s often easier to install multiple packages at once using a text file, so that anyone else setting up the project will have exactly the same environment.
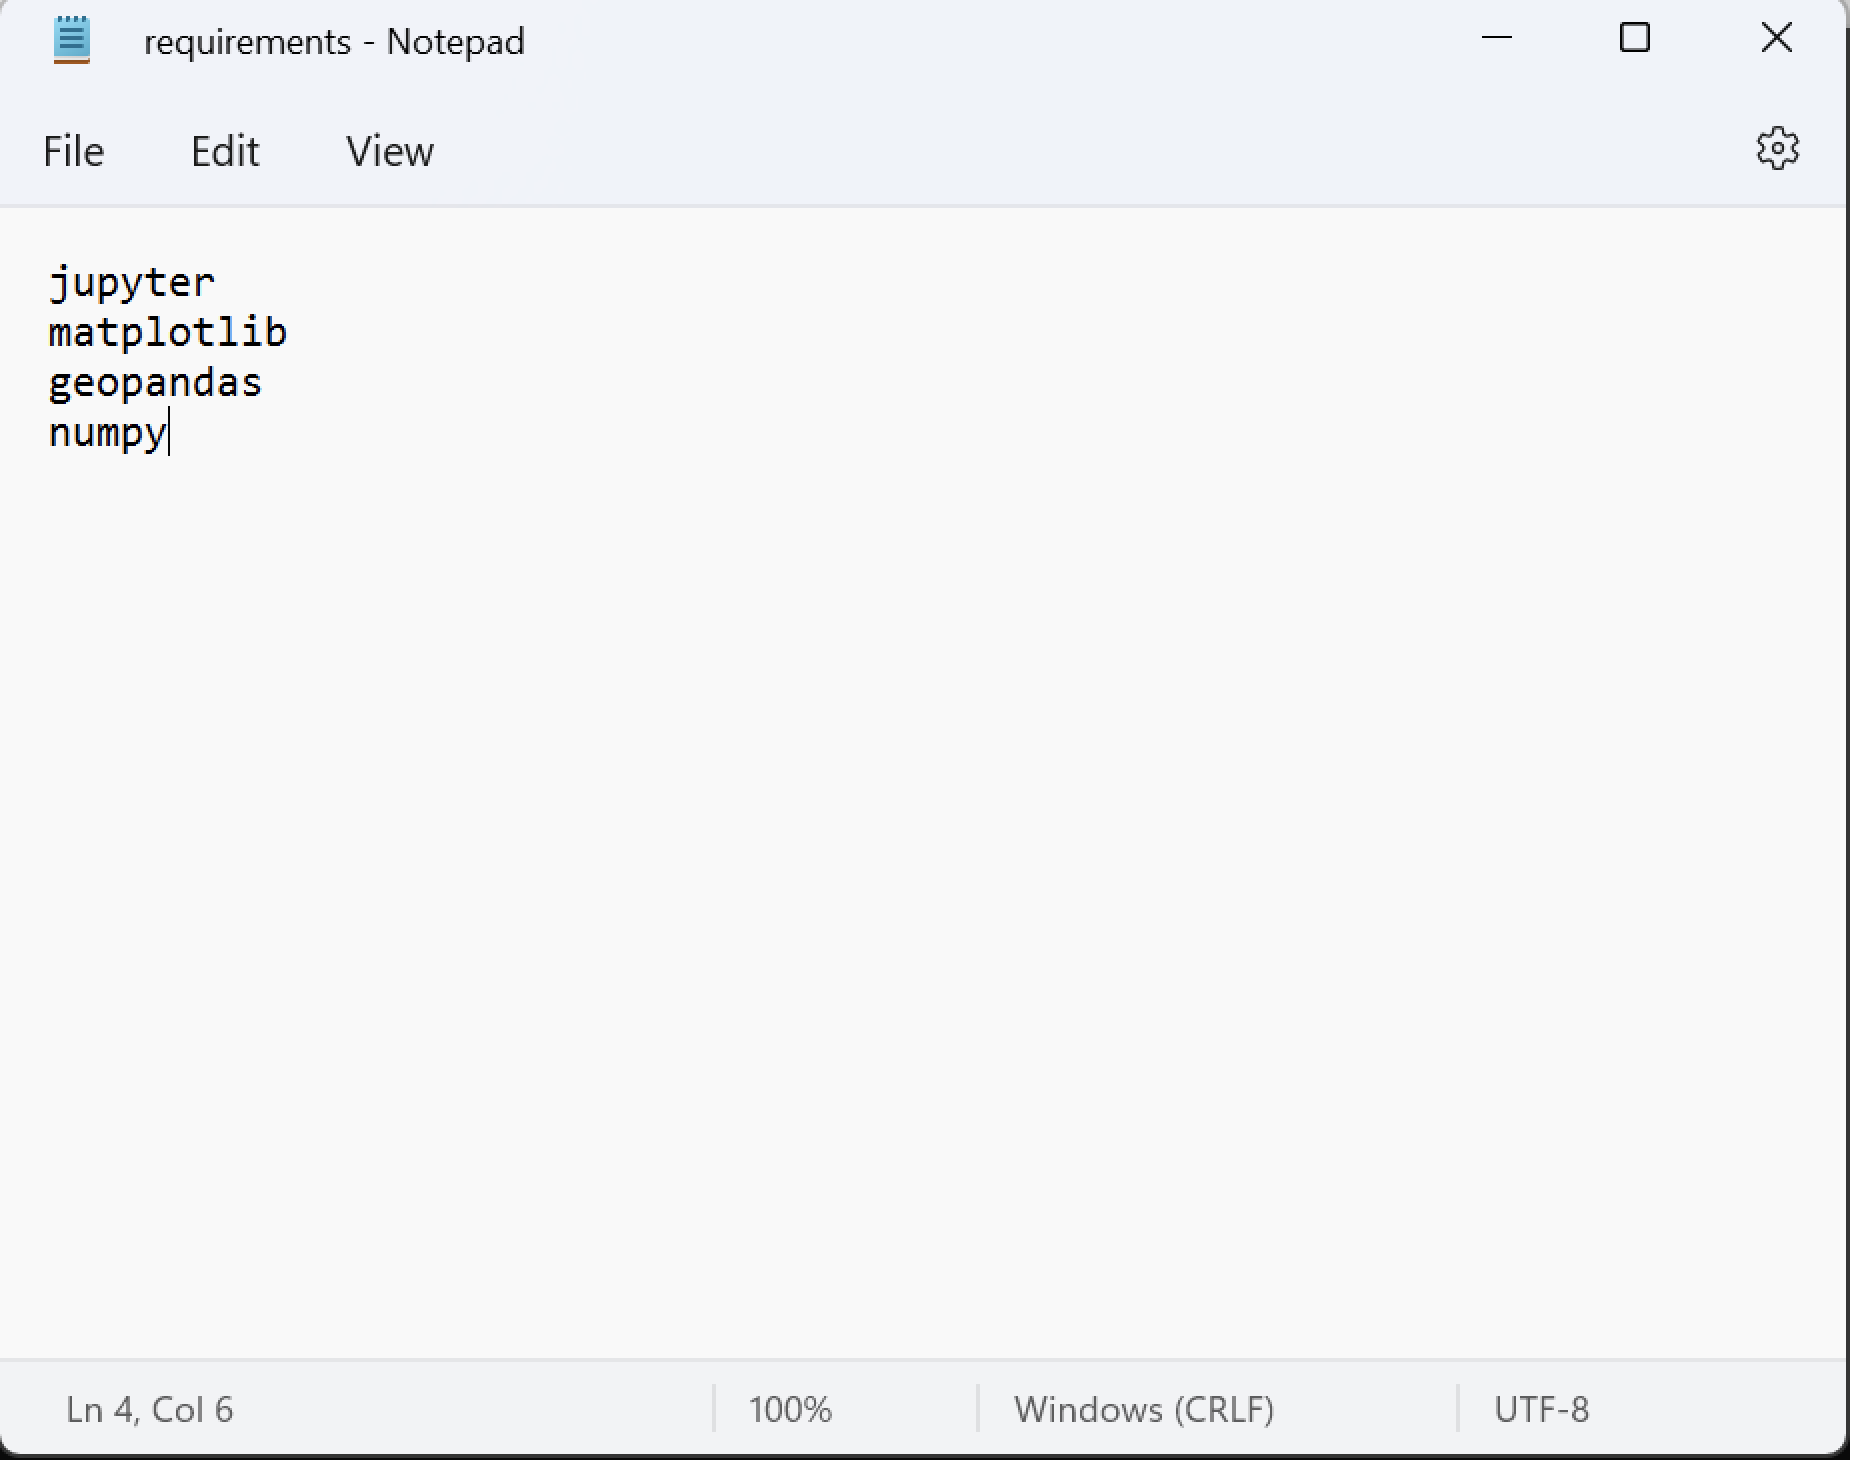
To do this we can make a text file called requirements.txt using Notepad on Windows or TextEdit on MacOS, add the names of the packages for the project, and save it into our new project folder.
We can install all the packages at once by running:
pip install -r requirements.txt
Note
This could take between a few seconds to tens of minutes depending on how many packages need to be installed.
We can check that everything installed properly by first running:
python
Then:
import numpy
If this runs without error, we are all good. If we get a ModuleNotFoundError:, we might check that the package was included in our requirements.txt file.
Note
Exit the Python interpreter by pressing Ctrl + Z and then Enter in Windows or just control + Z in MacOS.
Important
Once all team members have installed (1) GitHub Desktop, (2) a Python distribution, and (3) a virtual environment with the packages they need for the project, proceed to this week’s activity.